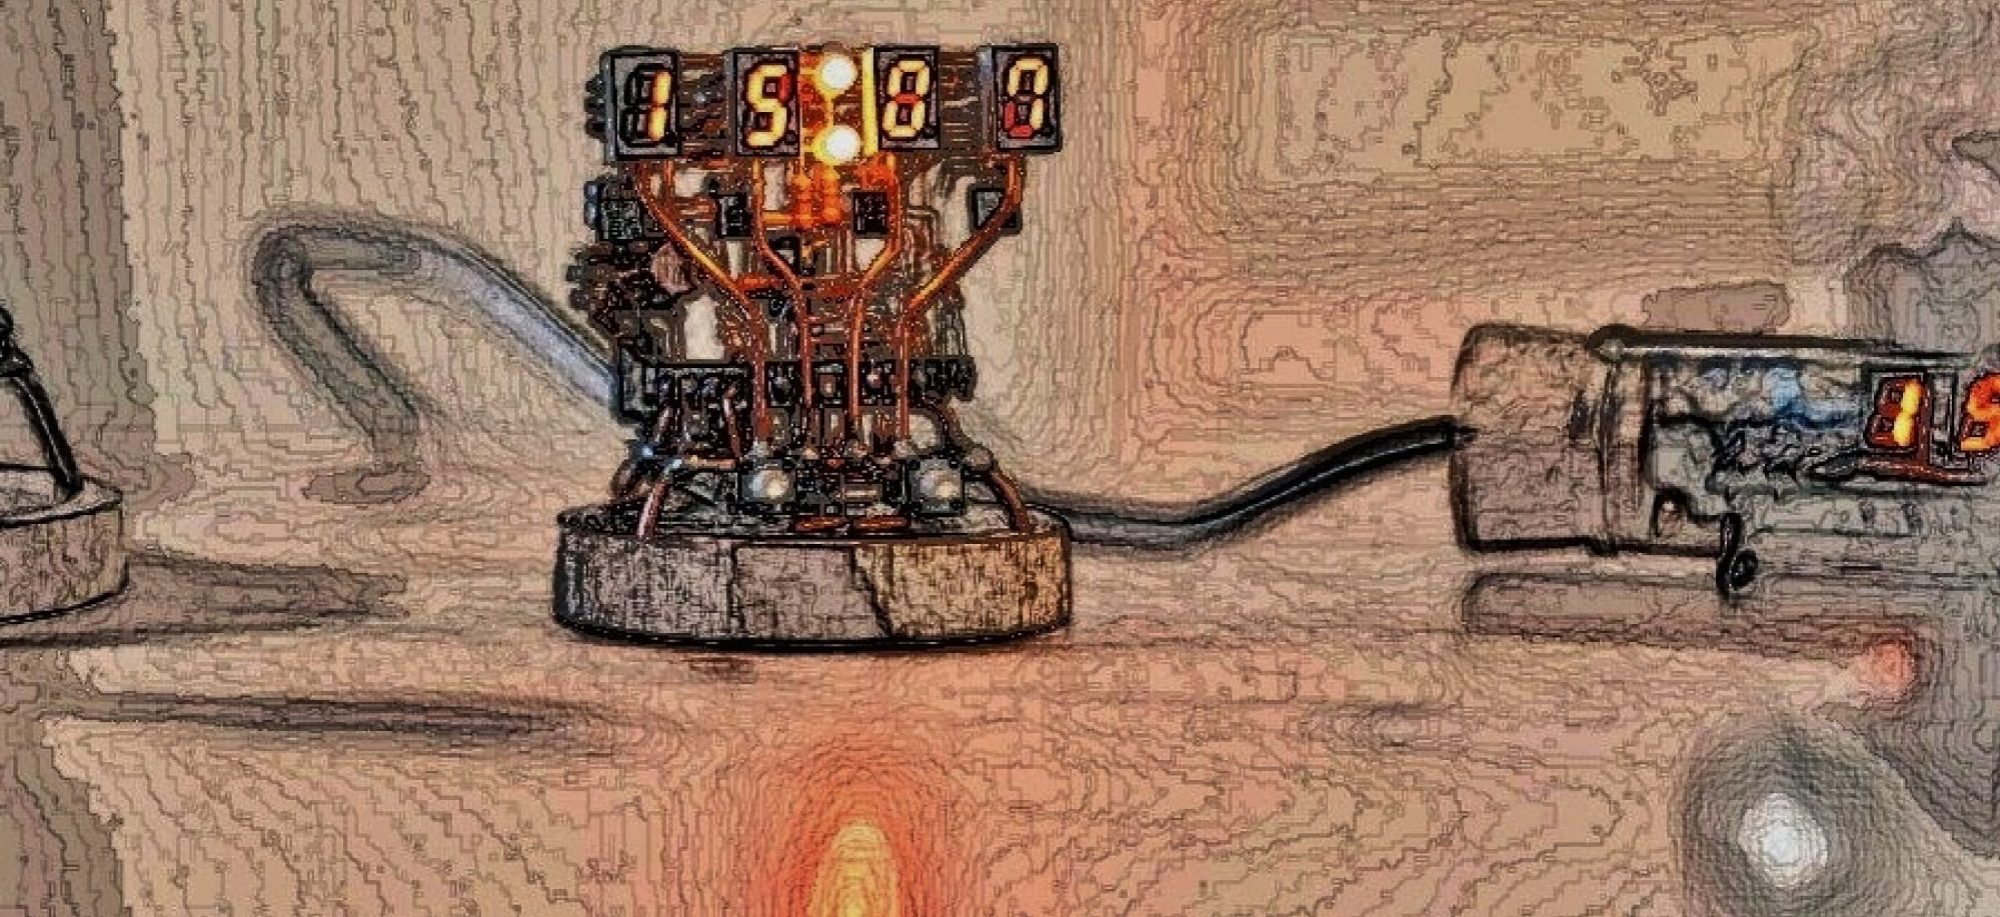

This time, we will process to use the commercially available AVR microcomputer ATmega328 as an Arduino. ATmega328 is a microcomputer chip installed in Arduino.
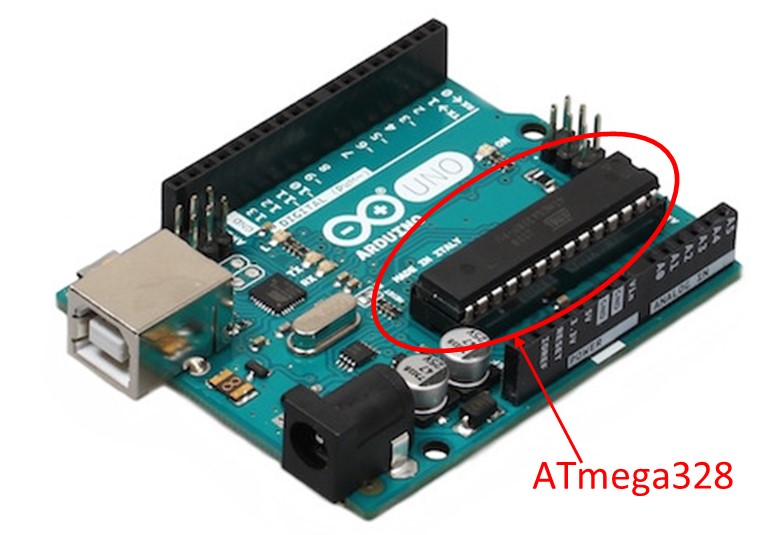
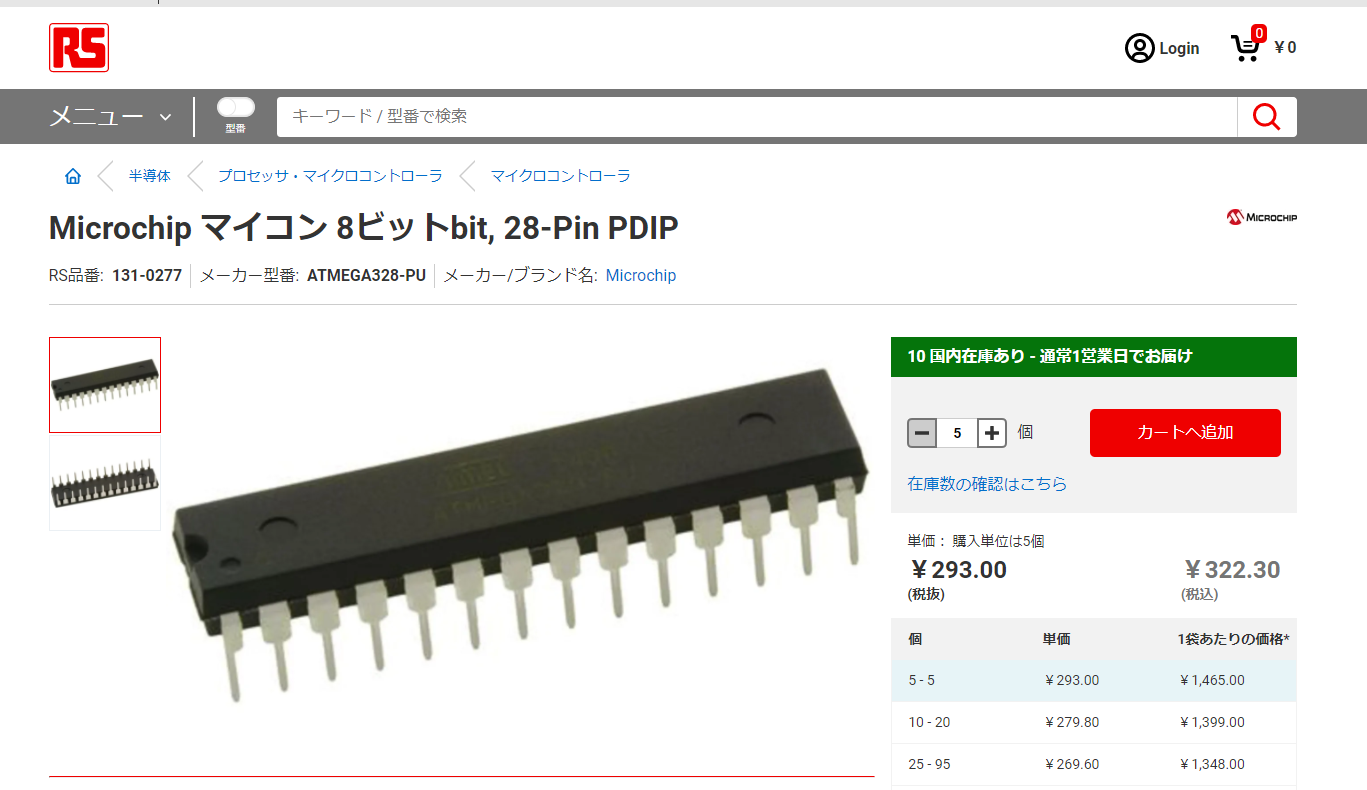
Arduino is about 3000 yen when you buy it at a fixed price. Since the board is also large, it is not suitable for mounting. Therefore, I will use ATmega328 as an Arduino by itself. ATmega328 can be purchased online. However, recently, due to the shortage of semiconductors, it is difficult to obtain surface mounts for ATmega328 and ATmega328P-PU. For now, it looks like it’s still in stock. RS Components costs 323 yen each. In other words, you can use a small size Arduino at 1/10 the price of Arduino.
This time, write a boot loader to use as Arduino in this IC.
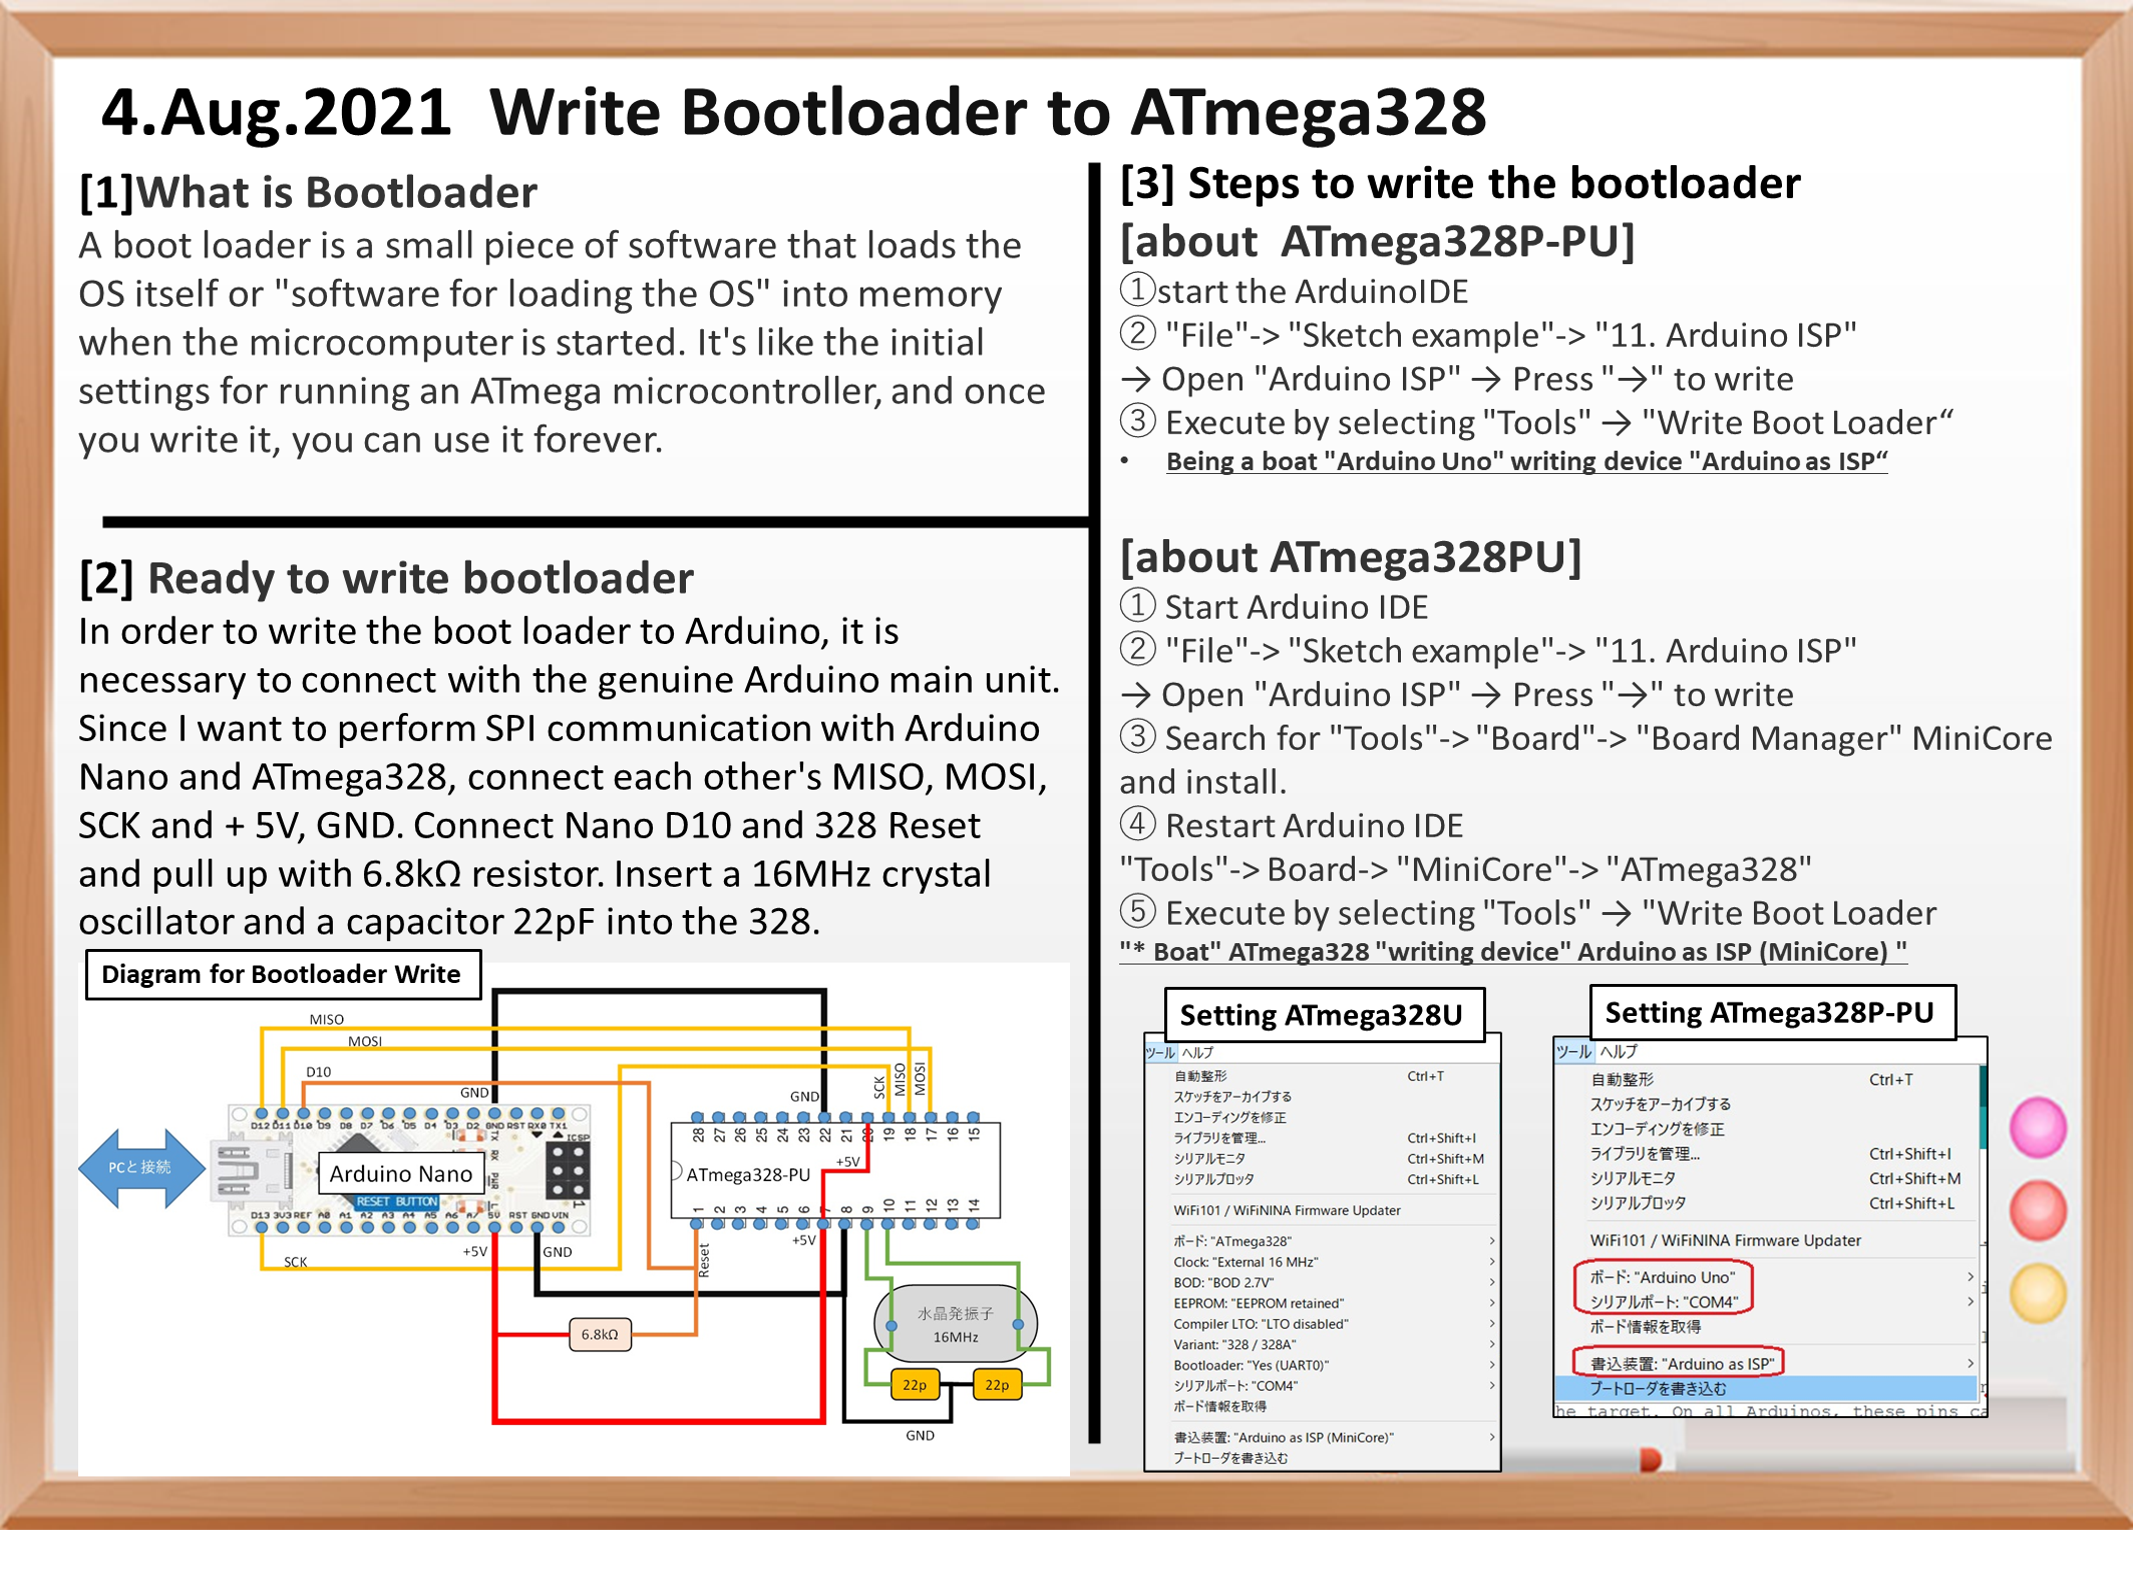
What is a boot loader?
What is a boot loader
Boot is a slang term that means booting basic software such as an OS on a computer. The boot loader is a small piece of software that loads the OS itself or “software for loading the OS” into memory at this time. This program is the basic software for running ATmega microcontrollers. It’s like an initial setting, so once you write it, you can use it forever, and you can rewrite the software many times.
Ready to write bootloader
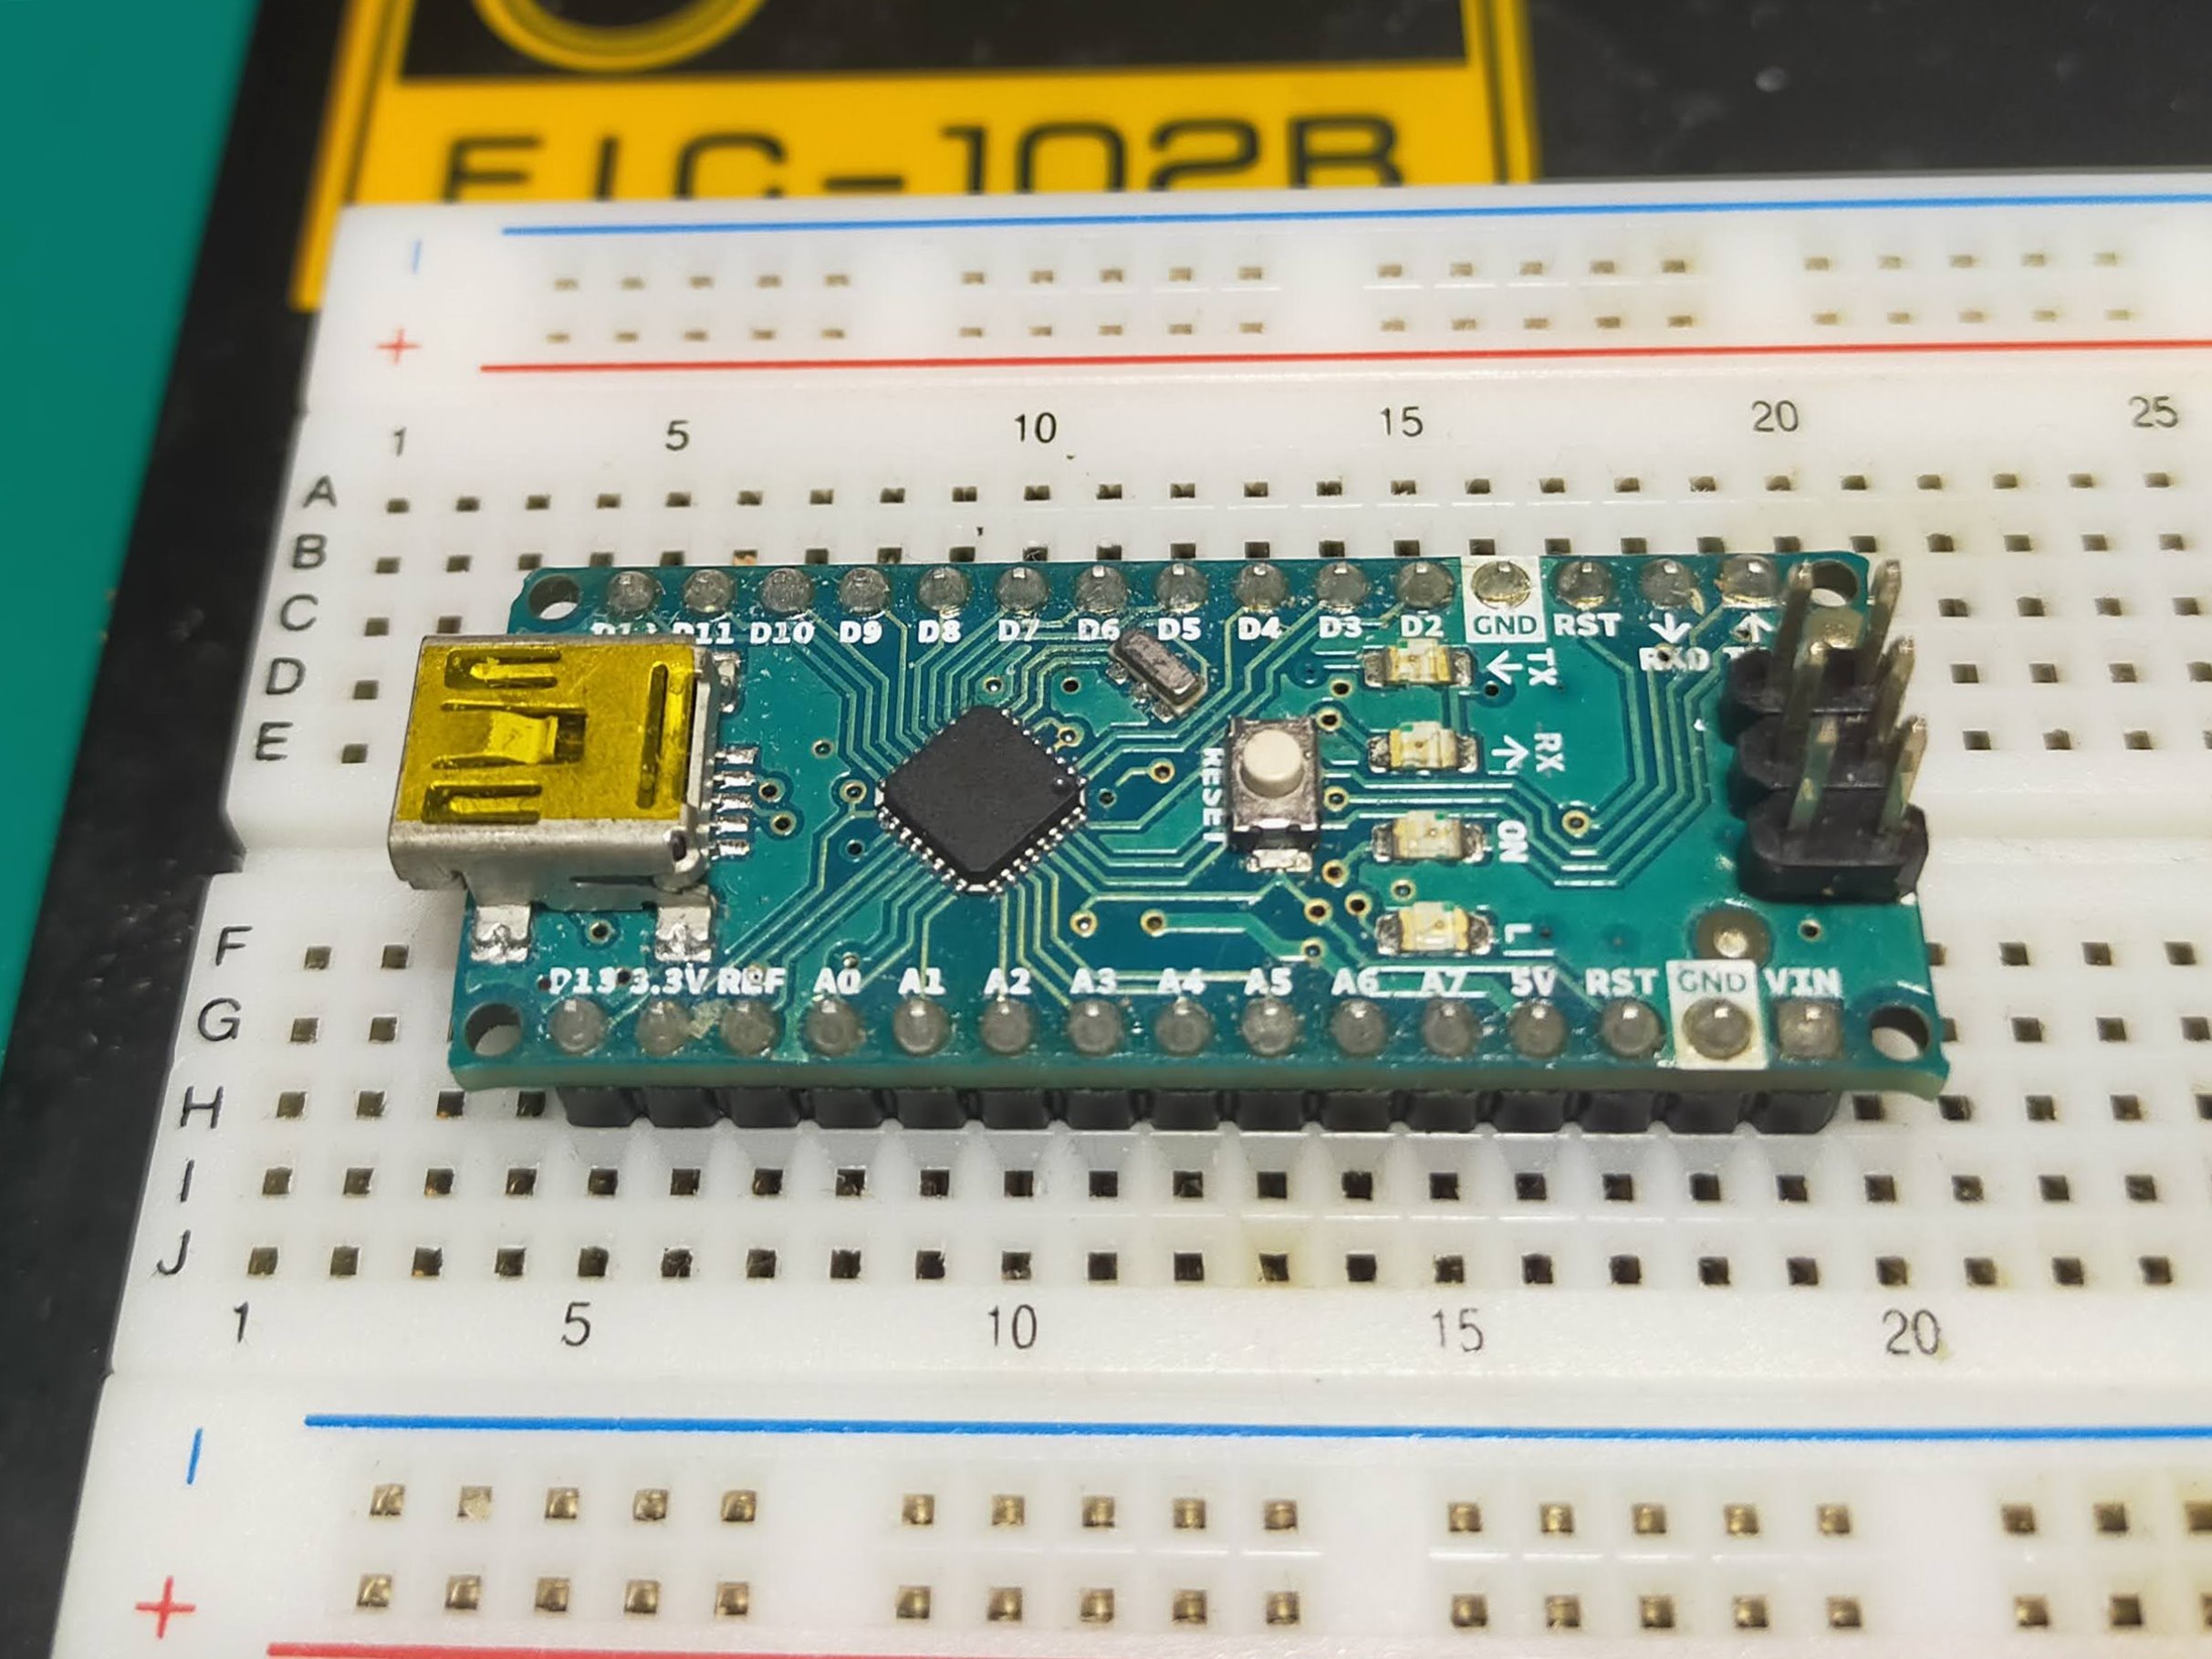
Please prepare a genuine Arduino to write the boot loader. It needs to communicate with ATmega328 by SPI method, which requires a genuine Arduino. The genuine Arduino can be basically anything. I used an Arduino Nano that can be stabbed on a breadboard.

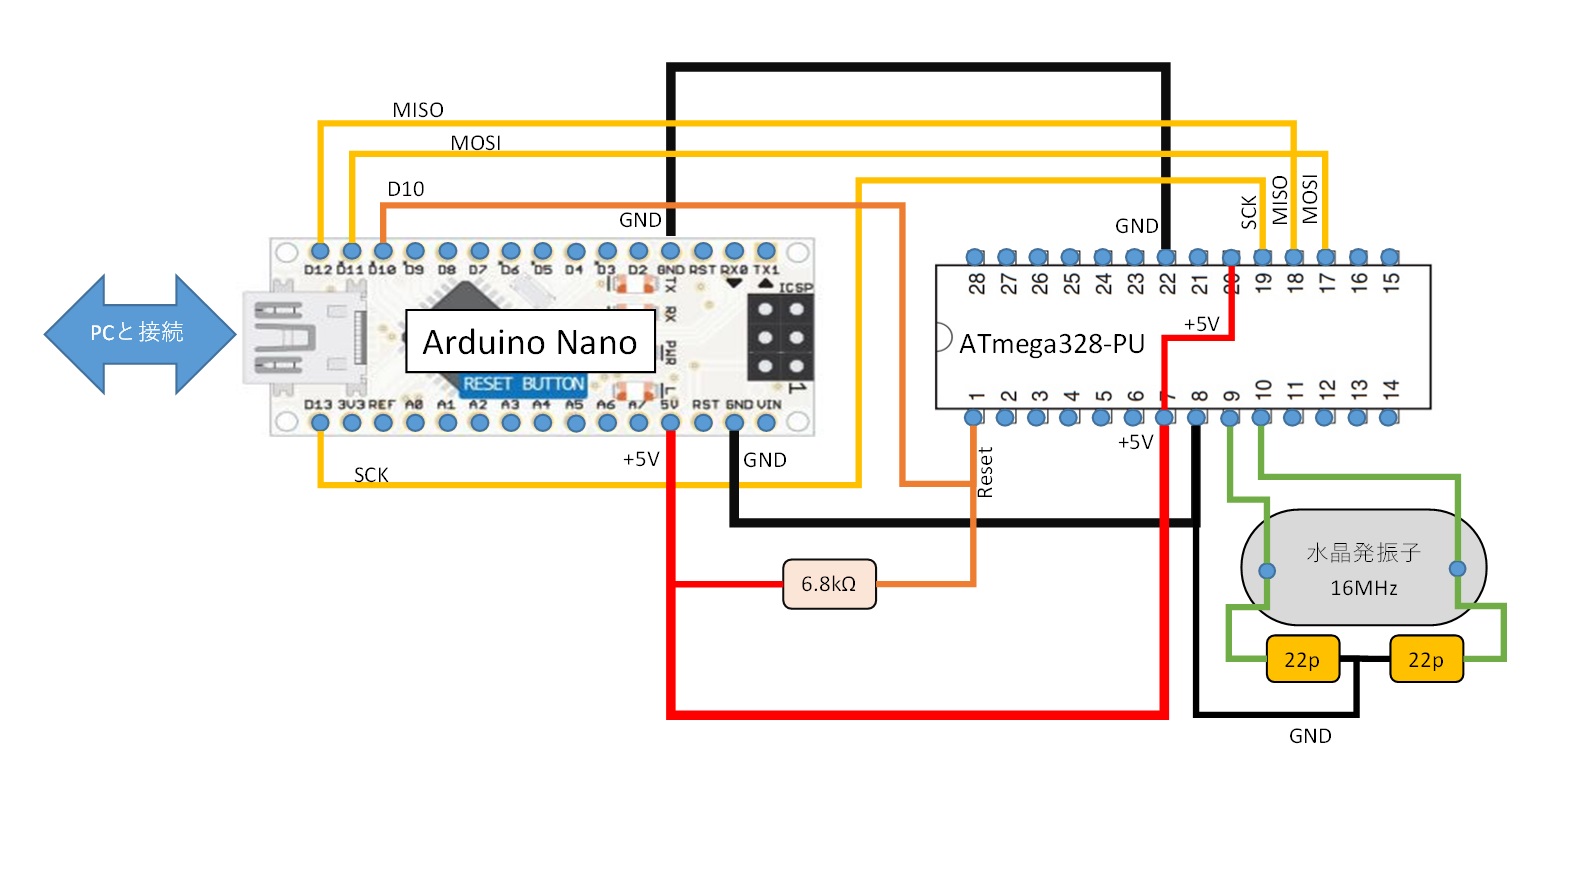
The wiring diagram of Arduino Nano and ATmega328PU is as shown below.
In short, I want to do SPI communication with Arduino Nano and ATmega328. Connect each other’s MISO, MOSI, SCK and + 5V, GND. After that, in order to reset ATmega328 at the timing specified by Arduino Nano, connect the Reset pin of Nano D10 and ATmega328 and pull up with a resistor of 6.8kΩ. After that, ATmega328 does not work without a clock, so I put a 16MHz crystal oscillator and a standard capacitor 22pF.
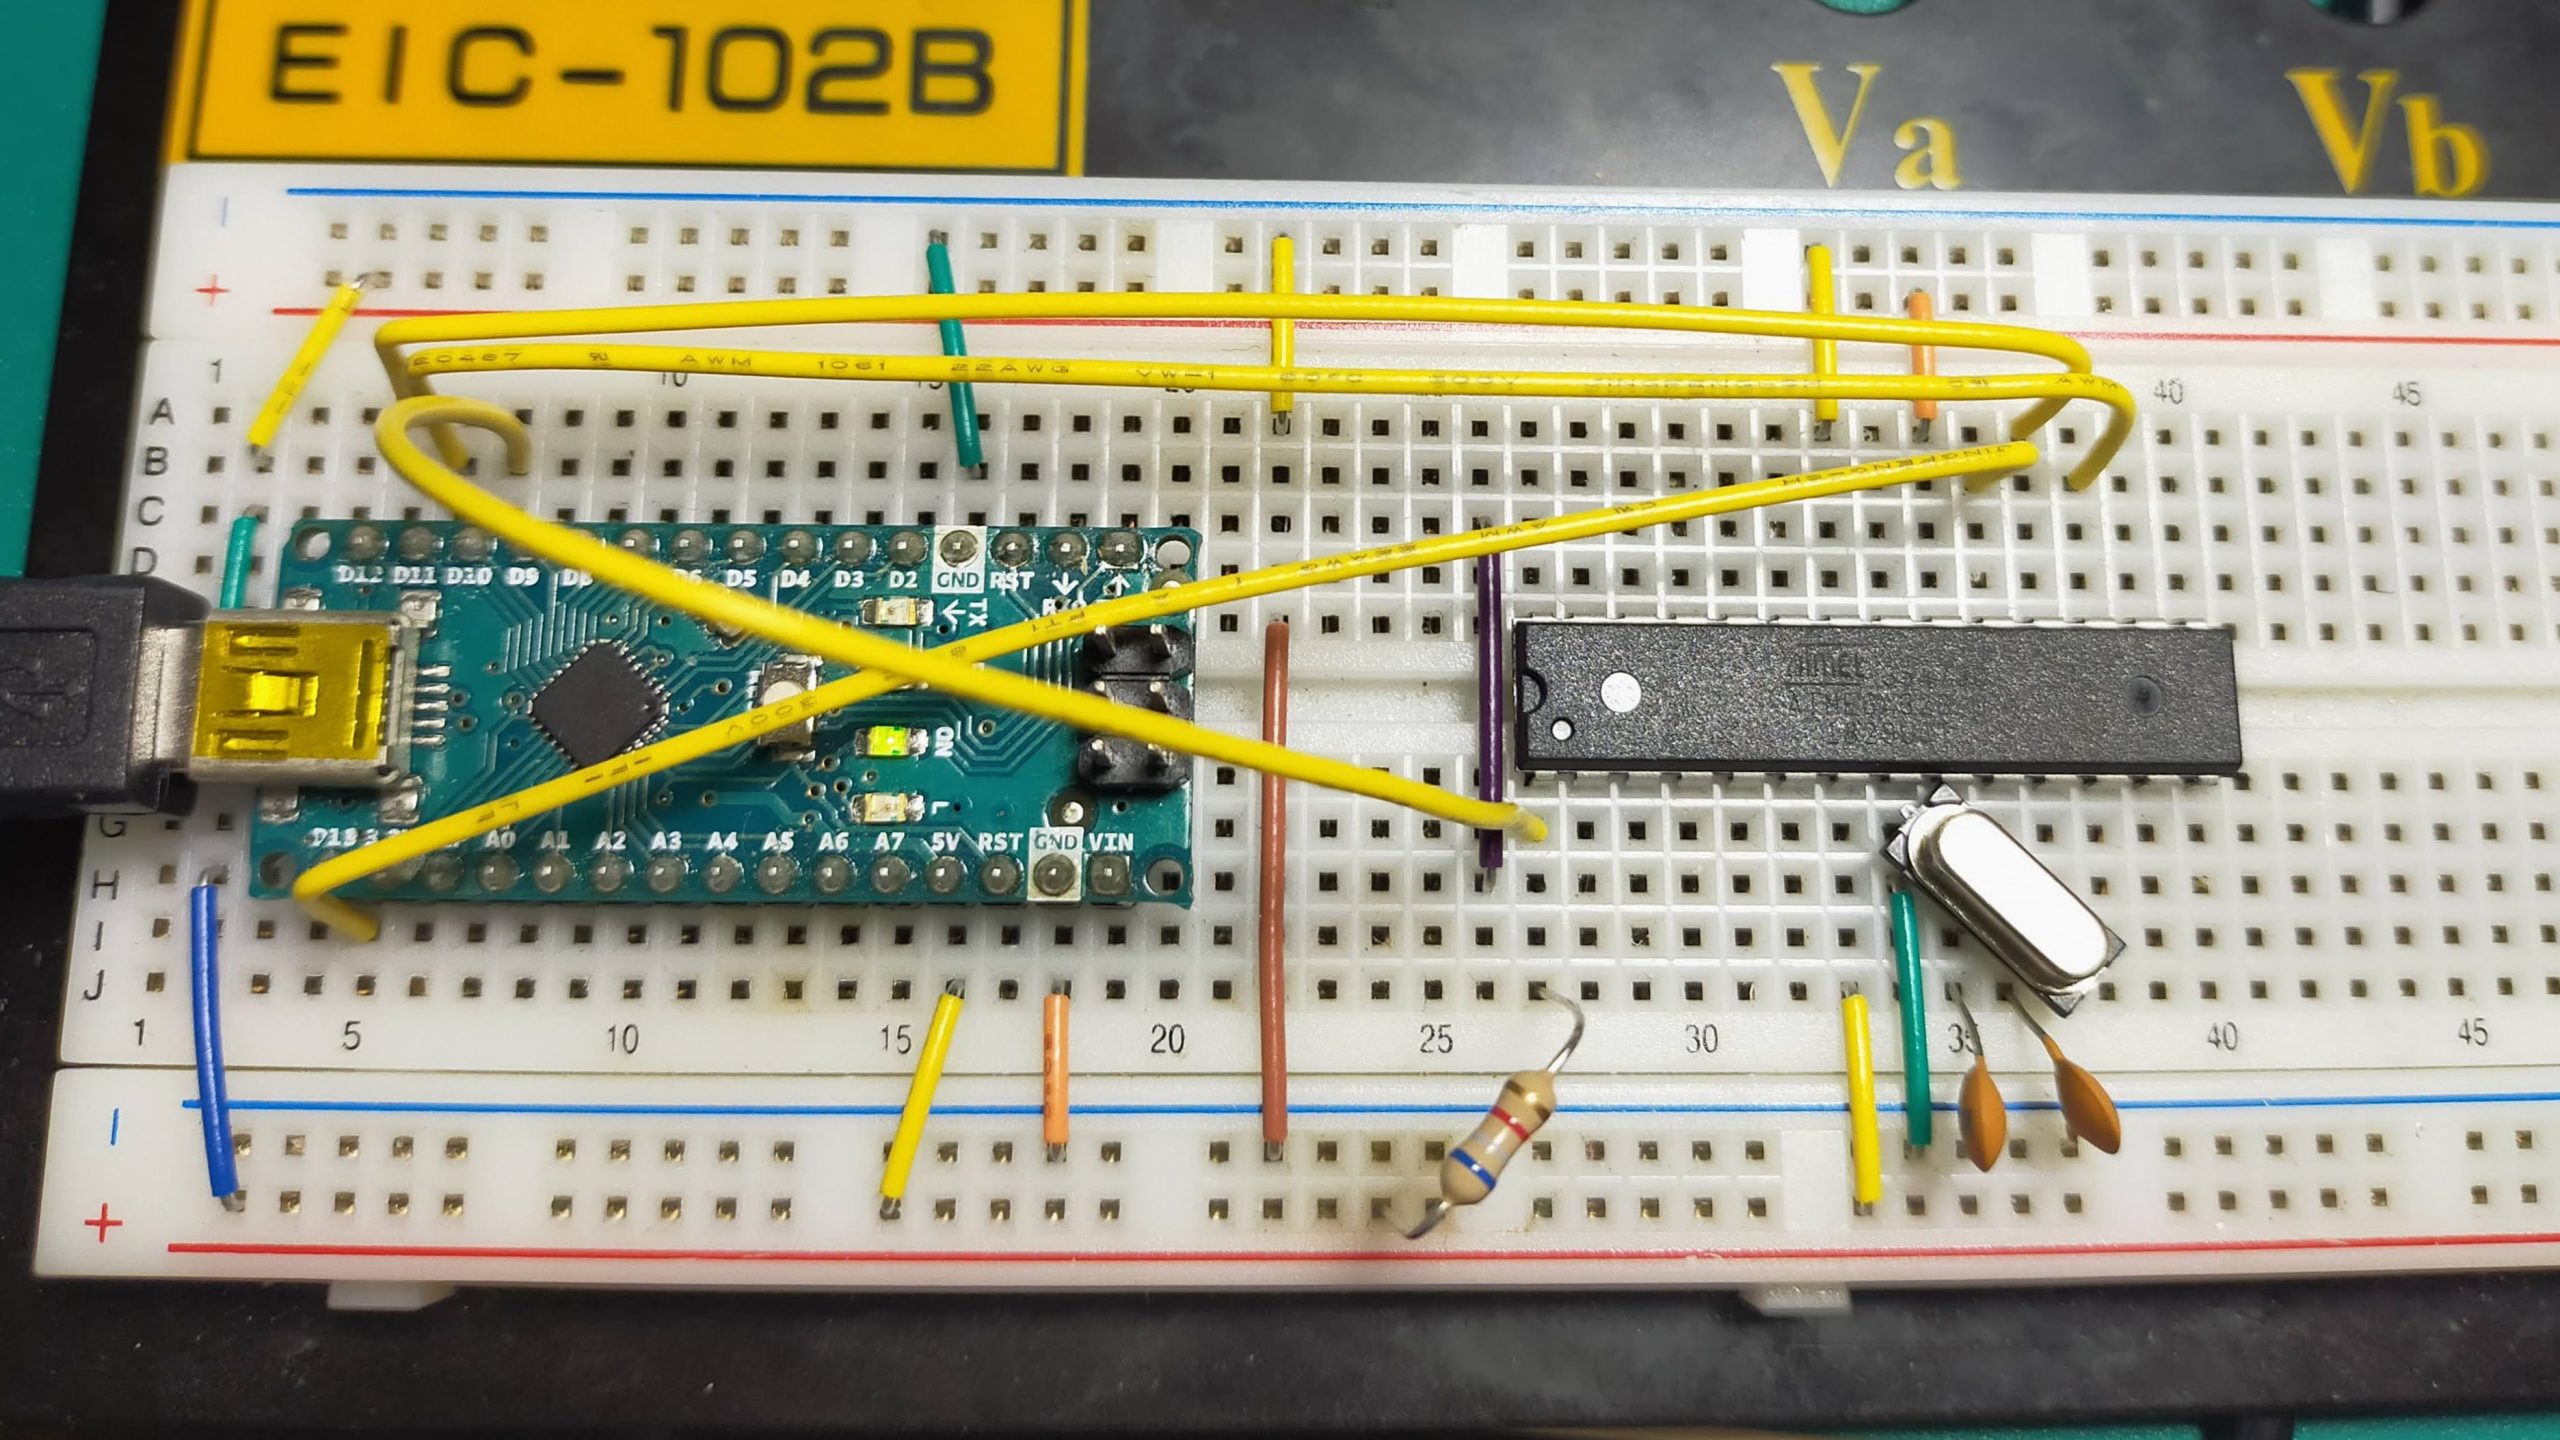
I actually wired it on a breadboard.
Arduino IDE settings
Next, set the Arduino writing software.
First, the boot loader writing method is different between the ATmega328P-PU and ATmega328PU (part notation; ATMEGA328U) ICs to write. This is because the ATmega328PU, which was released as a low-priced version after ATmel changed to MicroChip, has a different writing variant.
Write the ATmega328P-PU bootloader
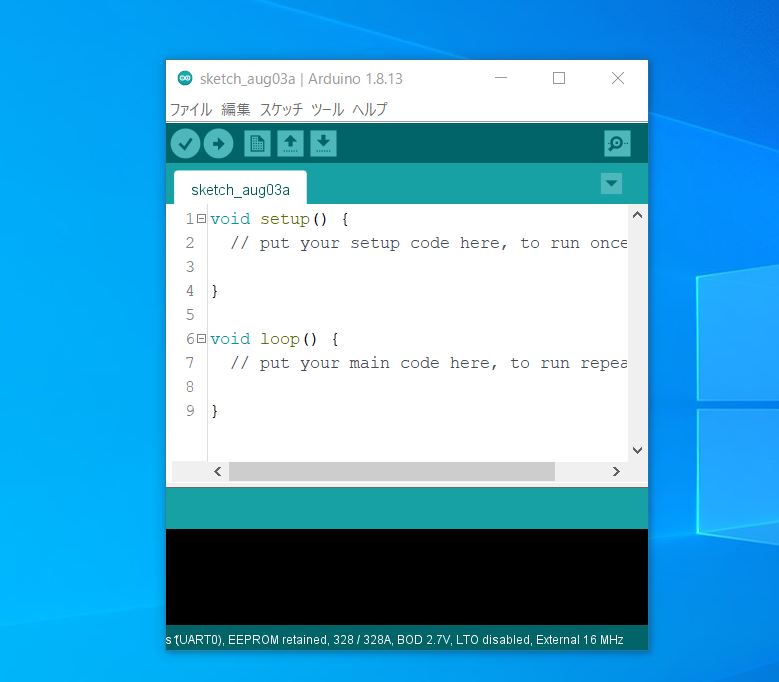
First, start the Arduino IDE. Please install the Arduino software from the link below.
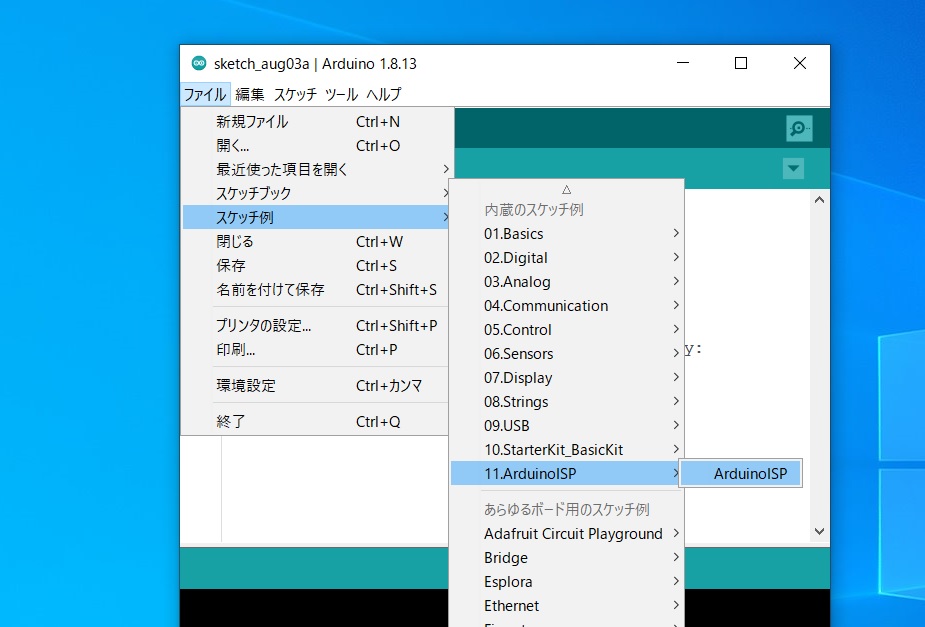
When the Arduino IDE starts, open “File”-> “Sketch example”-> “11. Arduino ISP”-> “Arduino ISP”.
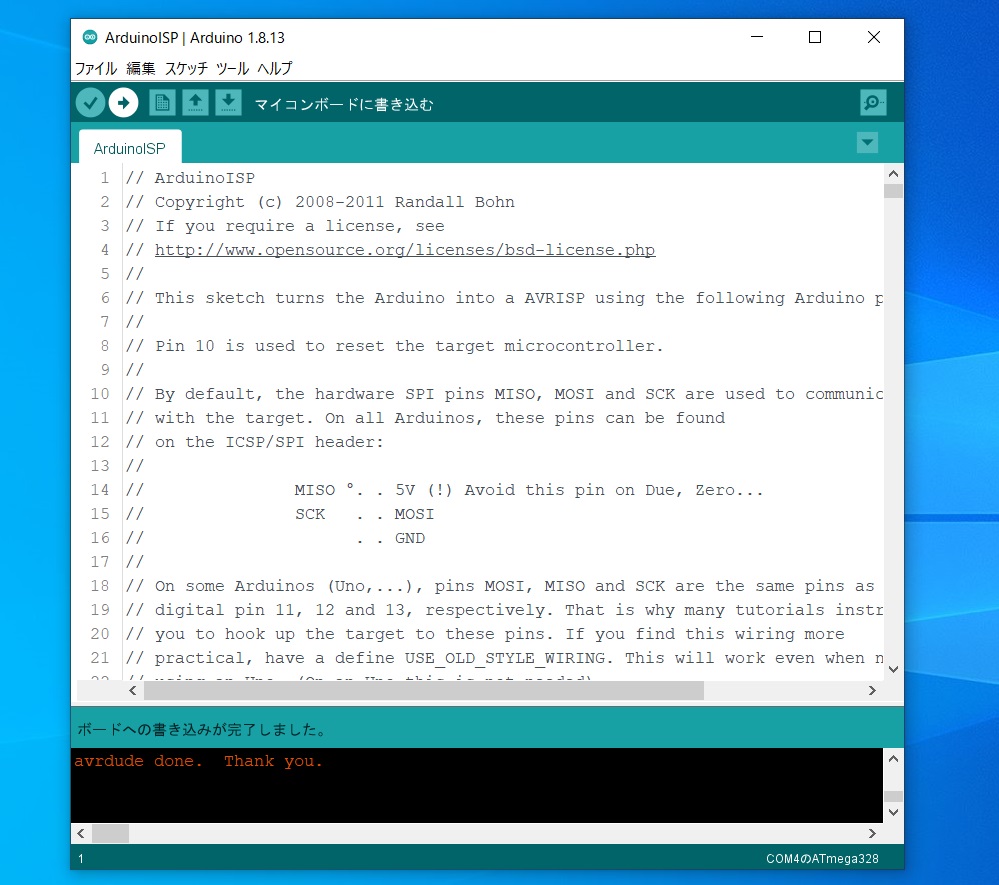
First, write the Arduino ISP software to the Arduino Nano. Now you can use the Arduino Nano as a writer.
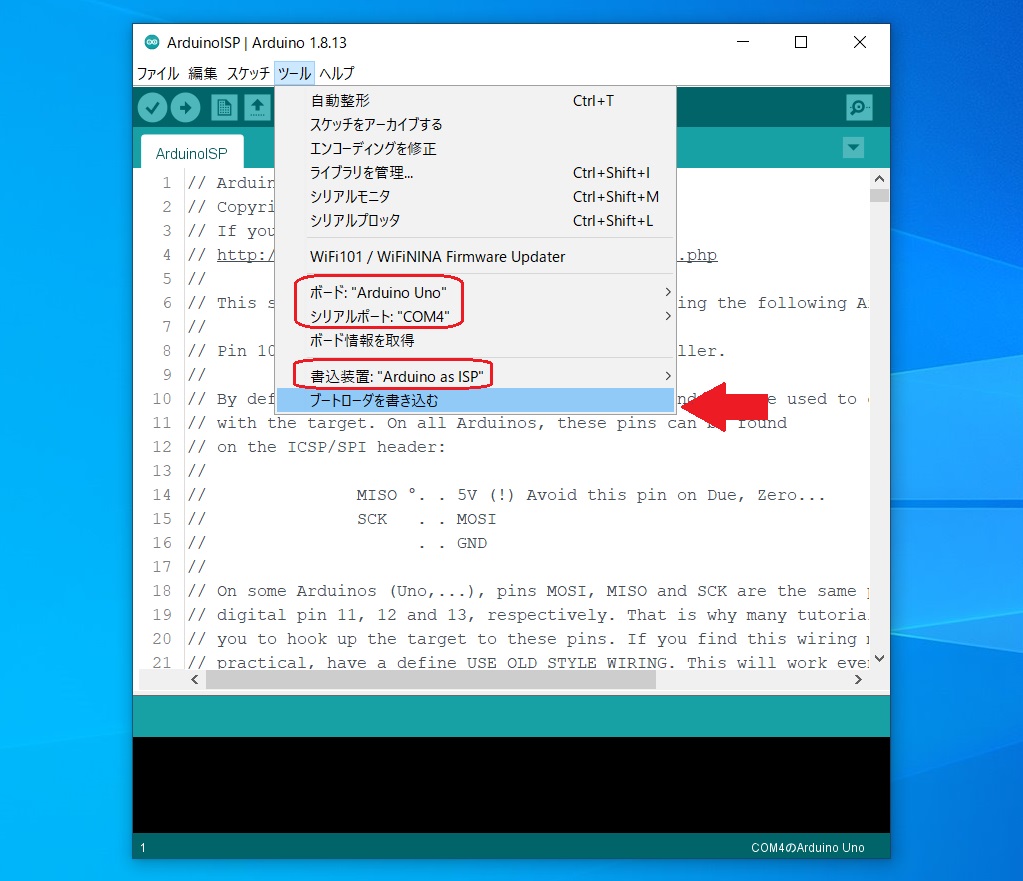
After that, press “Tools”, select the port “Arduino Uno”, the serial port “COM port connecting Arduino Nano”, the writing device “Arduino as ISP”, and select “Write boot loader” at the bottom. You can write the bootloader by pressing.
Write bootloader to ATmega328PU
The above is the same up to writing the ISP software from Arduino ISP to Arduino Nano.
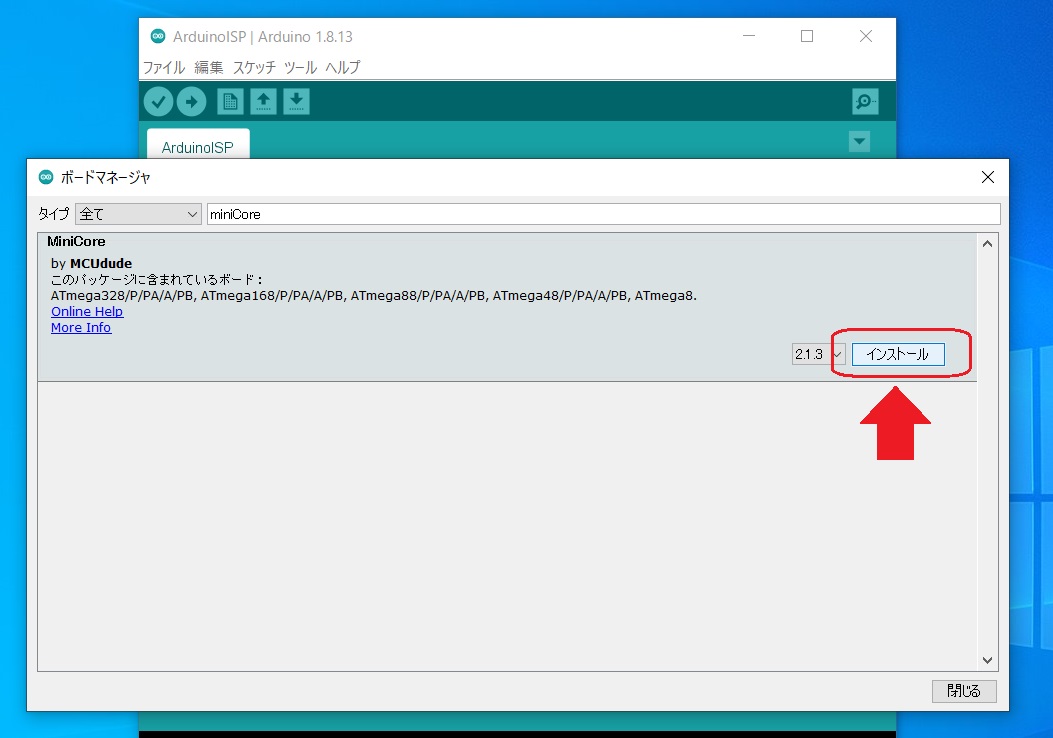
ATmega328 cannot be written by the board manager that is included in Arduino from the beginning.
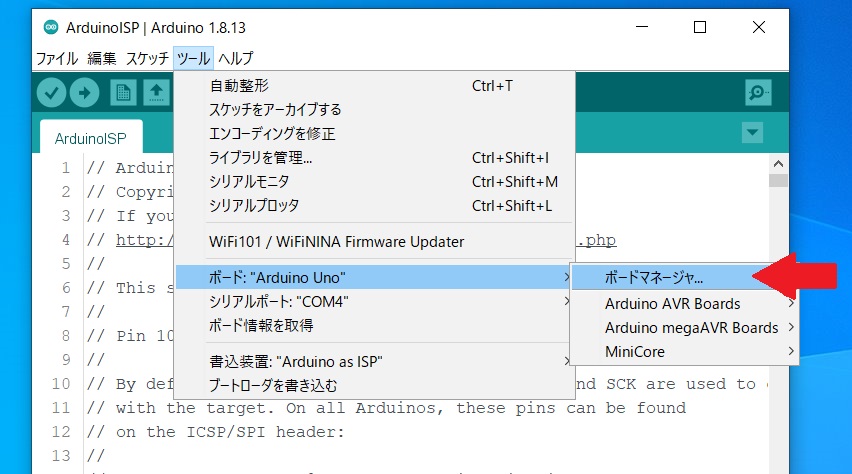
Open “Tools”-> “Board”-> “Board Manager”, search for MiniCore, and install.
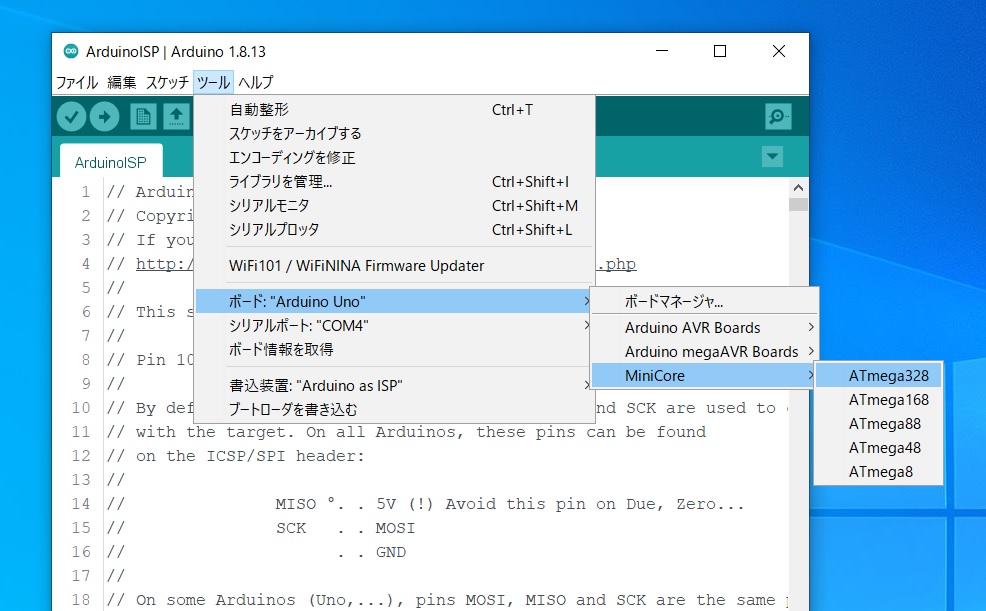
Restart Arduino and select “Tools”-> Board-> “MiniCore”-> “ATmega328”.
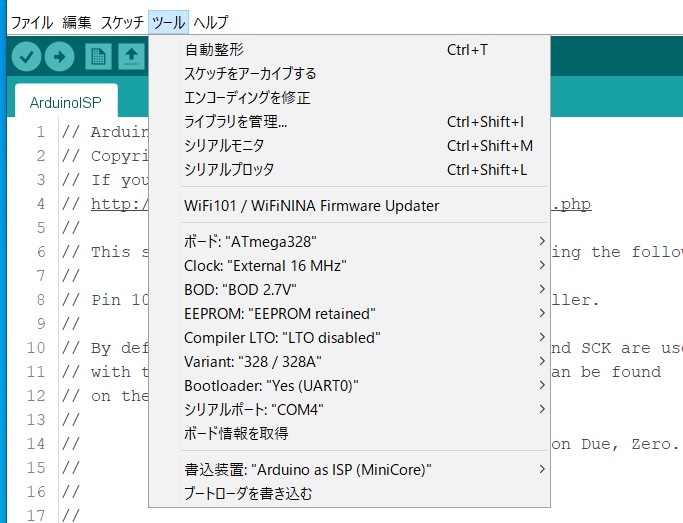
After that, click “Write boot loader” to write.
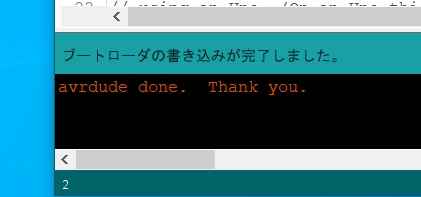
This completes the boot loader writing.
That’s all for today.